05. Data Collection Guide
Data Collection Guide
Lets get started collecting data for our network. Good data is just as important as a good network architecture, so collecting the best data you can is a key to success!
Note: Some screen images may differ from your current simulator build but the keys and the process remain the same.
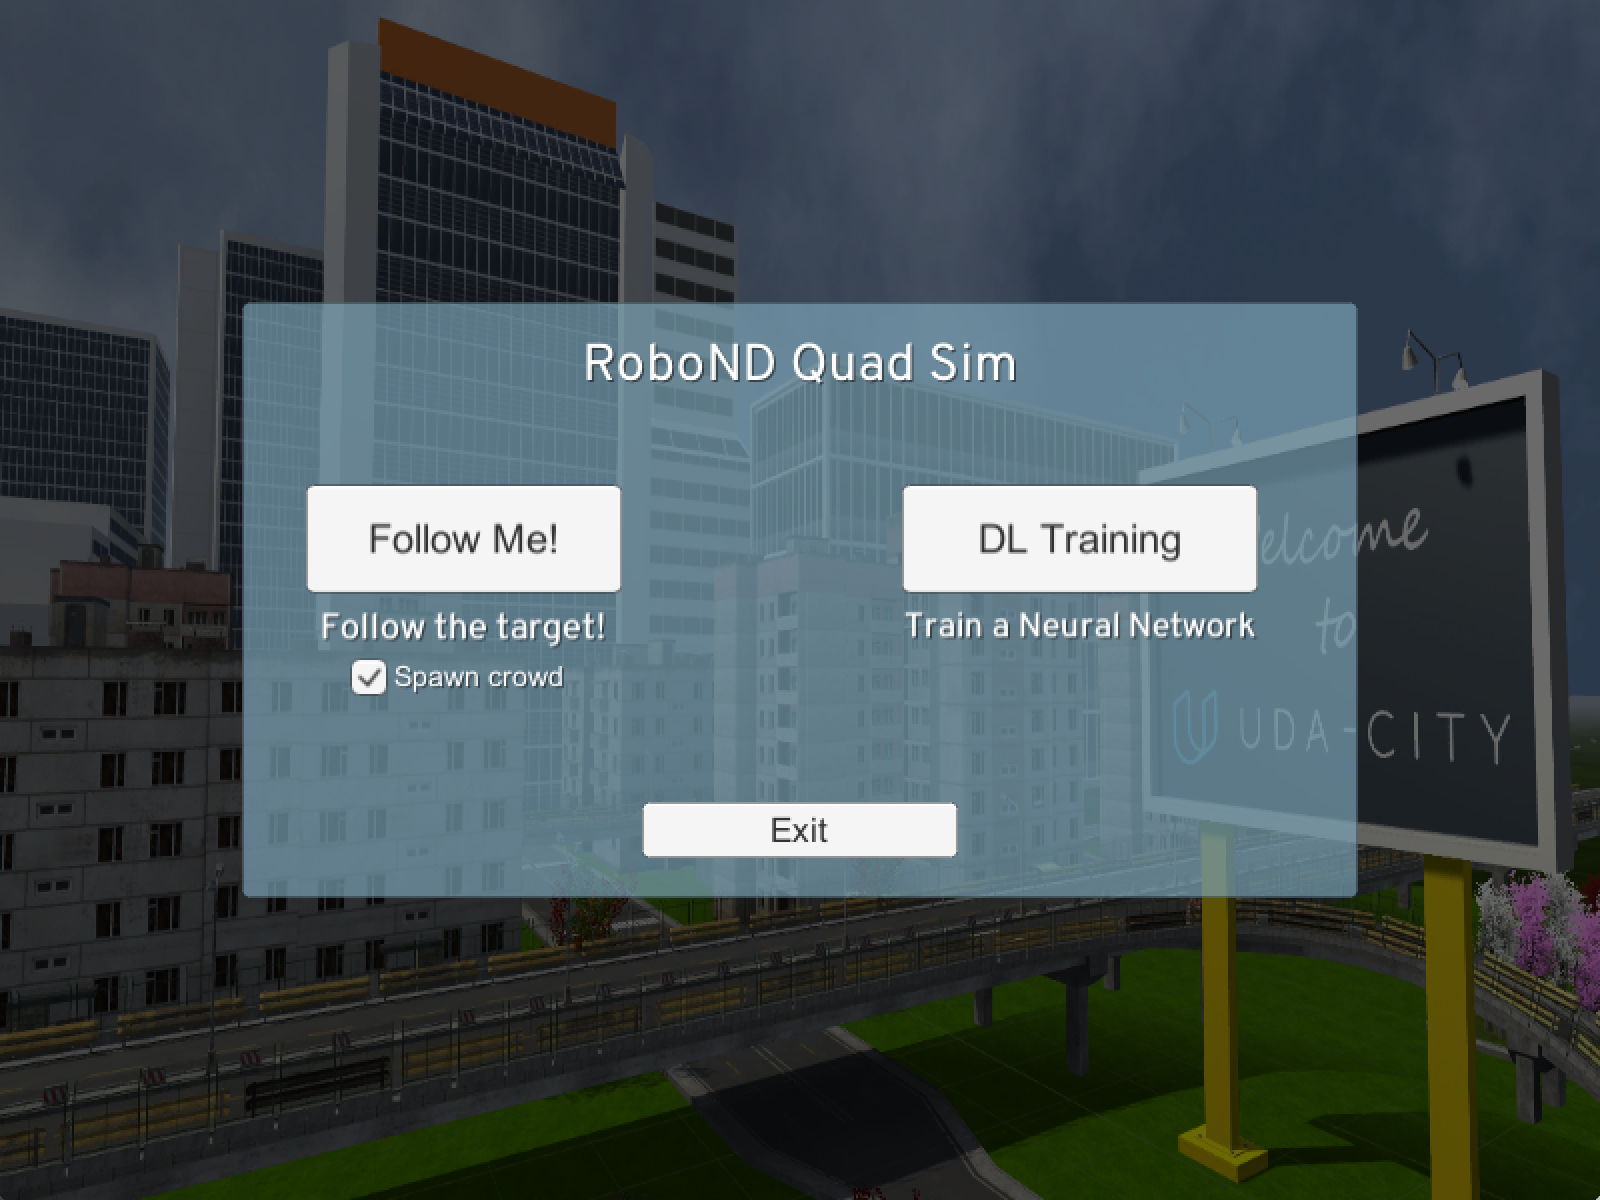
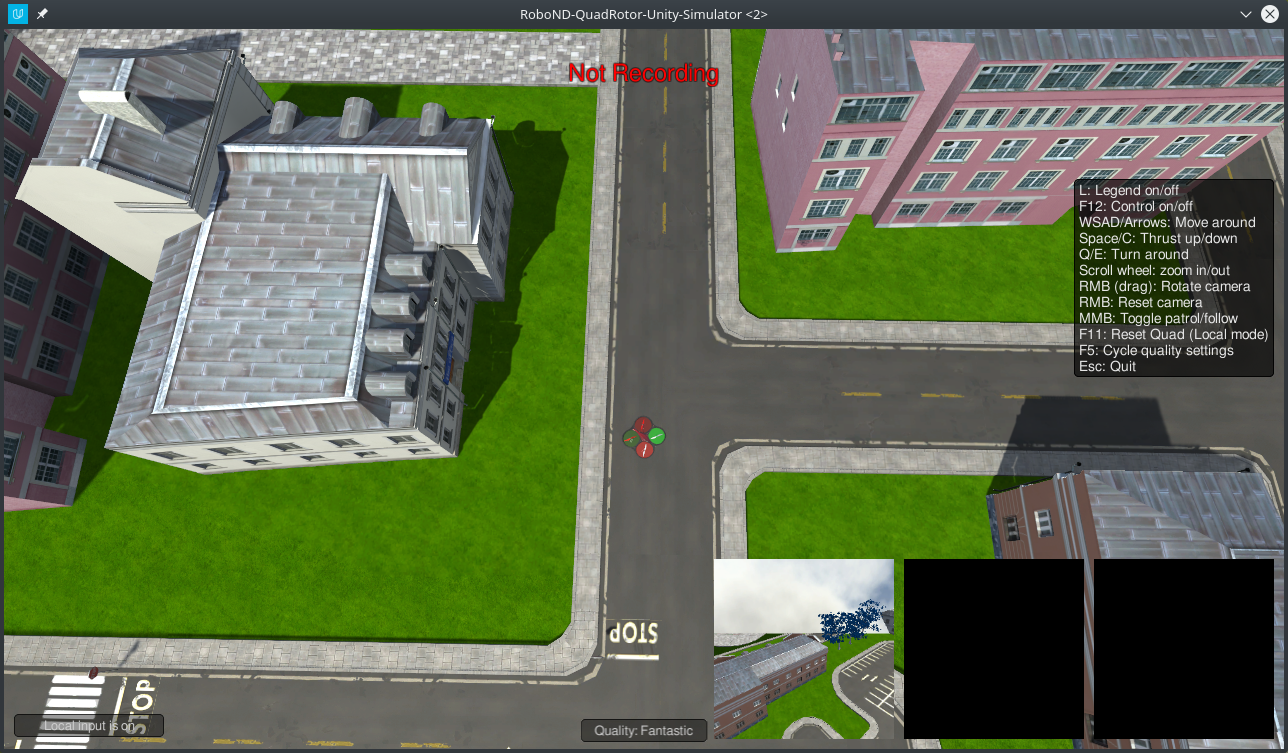
Open quad sim, put a check mark in Spawn crowd, then click on DL training
Local control mode
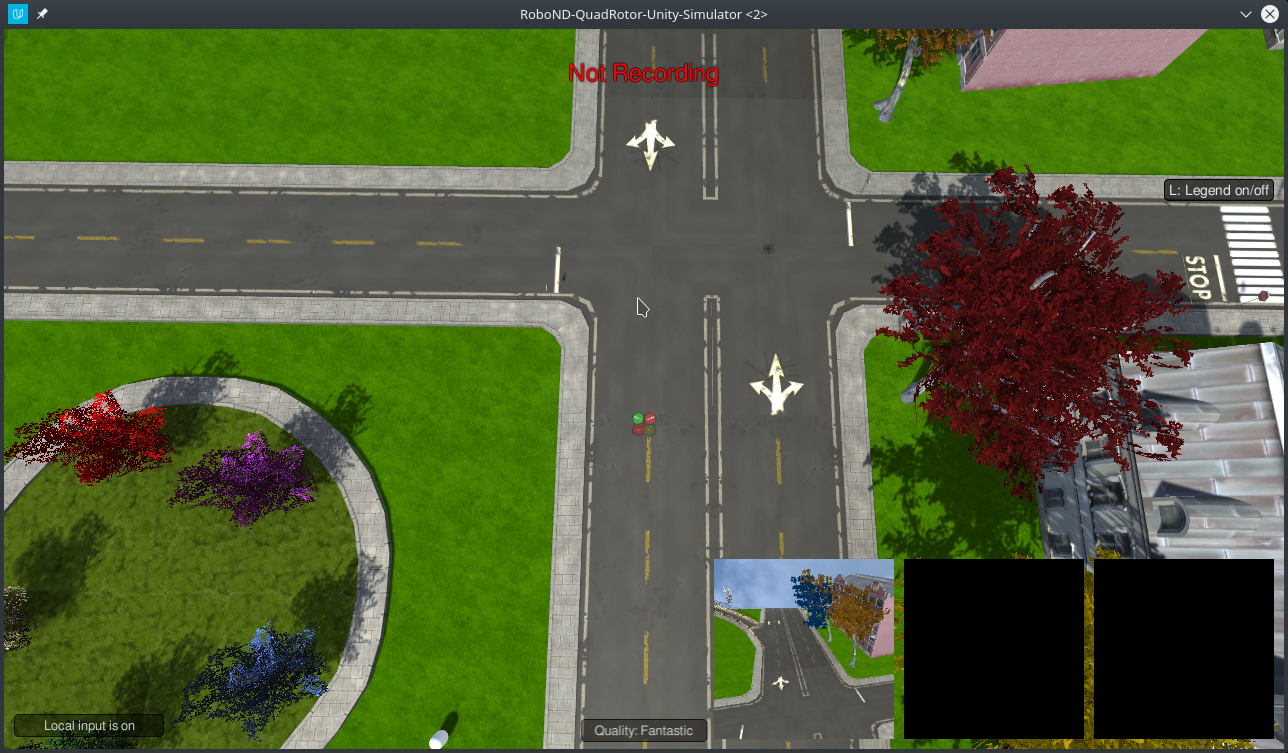
The quad will start out in patrol mode, but since we have not added any waypoints yet, it will have nowhere to go. To add waypoints you must first switch to local local control by pressing the H key.

View and Navigation
- To zoom out from the quad, we recommend using the
mouse wheel. - To change the viewing perspective at any time during training,
right clickon the screen and move the mouse. - Use
WASDkeys to move the quad forward, left, back and right - Use
<space>andCto thrust up and down - Use
QEkeys to turn the quad toward the left or right - Press
Gto reset it to the starting pose. - To look up these and other commands press the
Llegend key
Managing data collection
There are 3 major aspects to the data collection process that you can control in order determine the type of data you collect. These are as follows:
- The path the quad will take while on patrol.
- The path the hero will walk.
- The locations of distractor spawns.
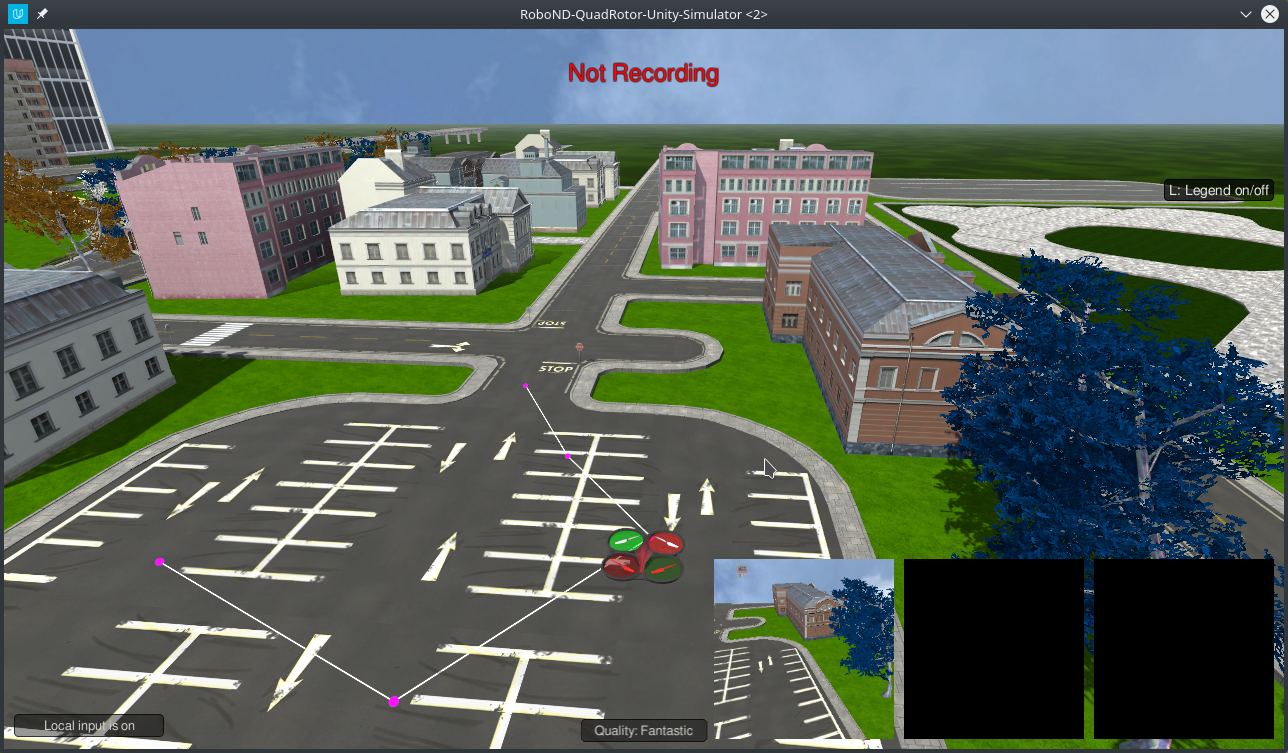
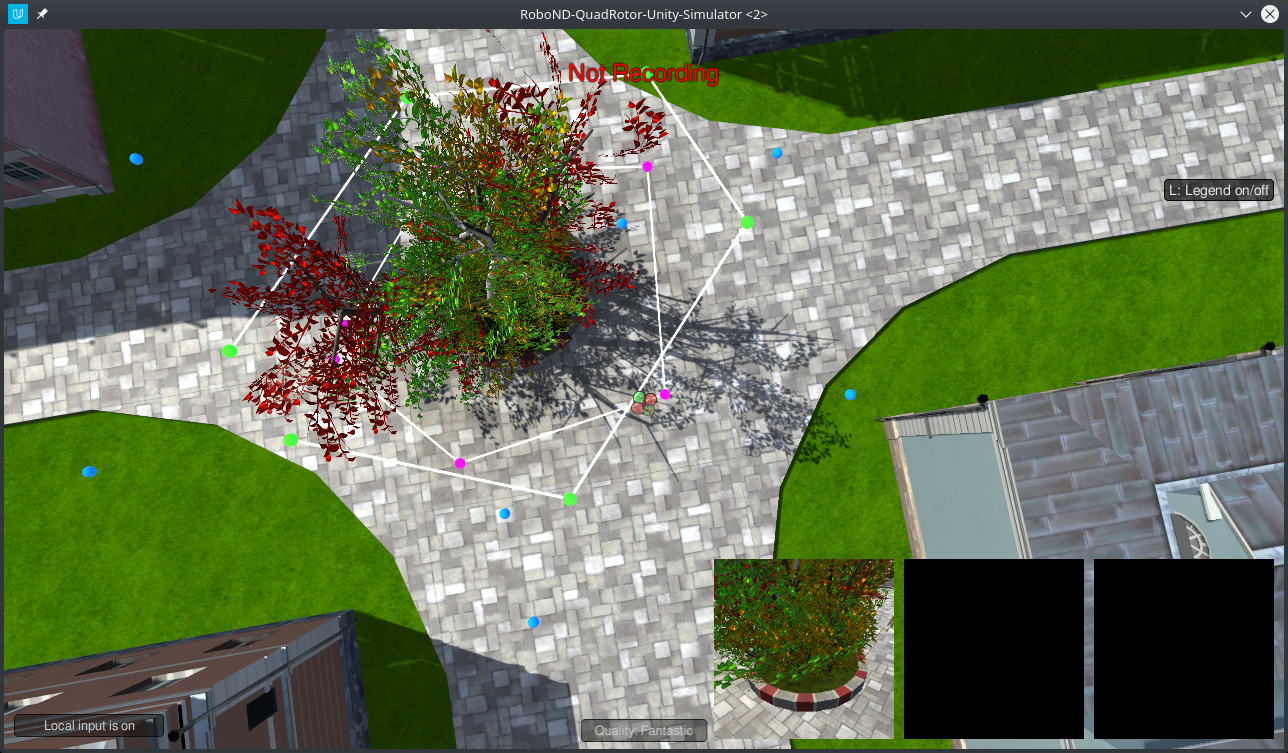
Setting Patrol Points
Press the P key to set a patrol point. A green patrol point will appear at the quads position.
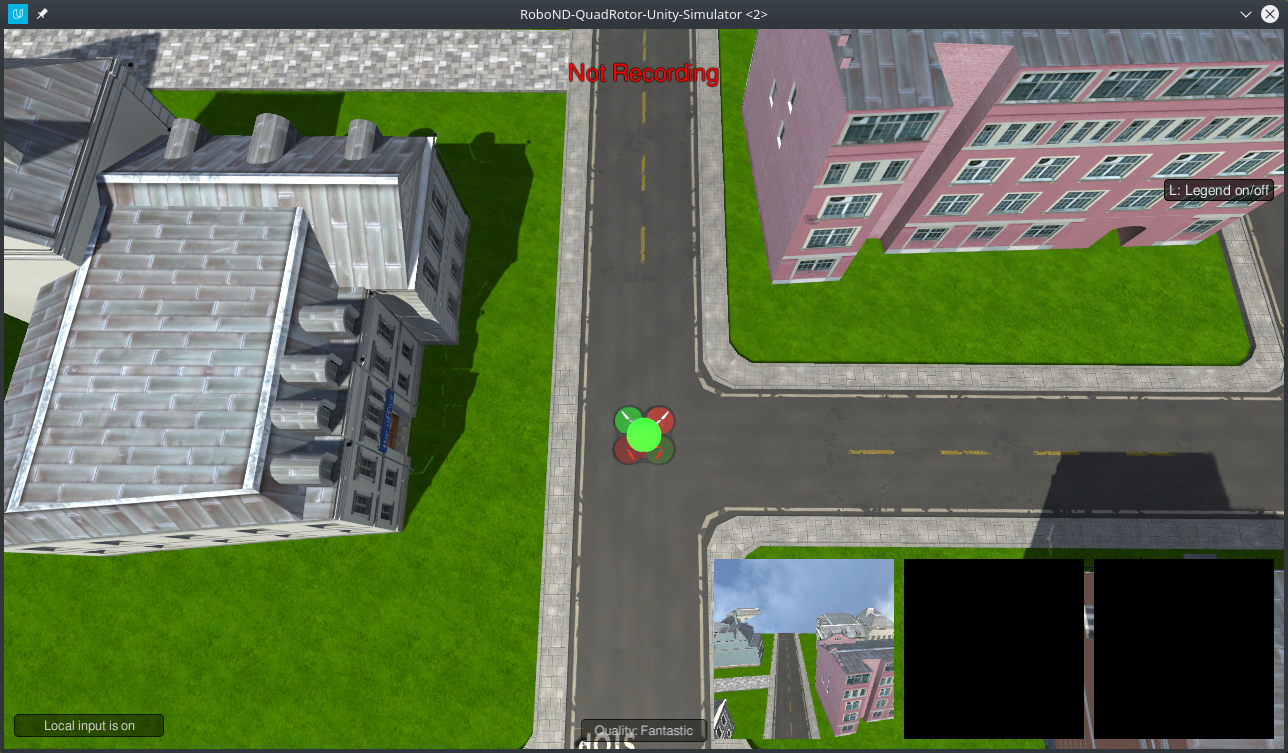
Move to another position and press P again to add one more patrol point somewhere nearby.
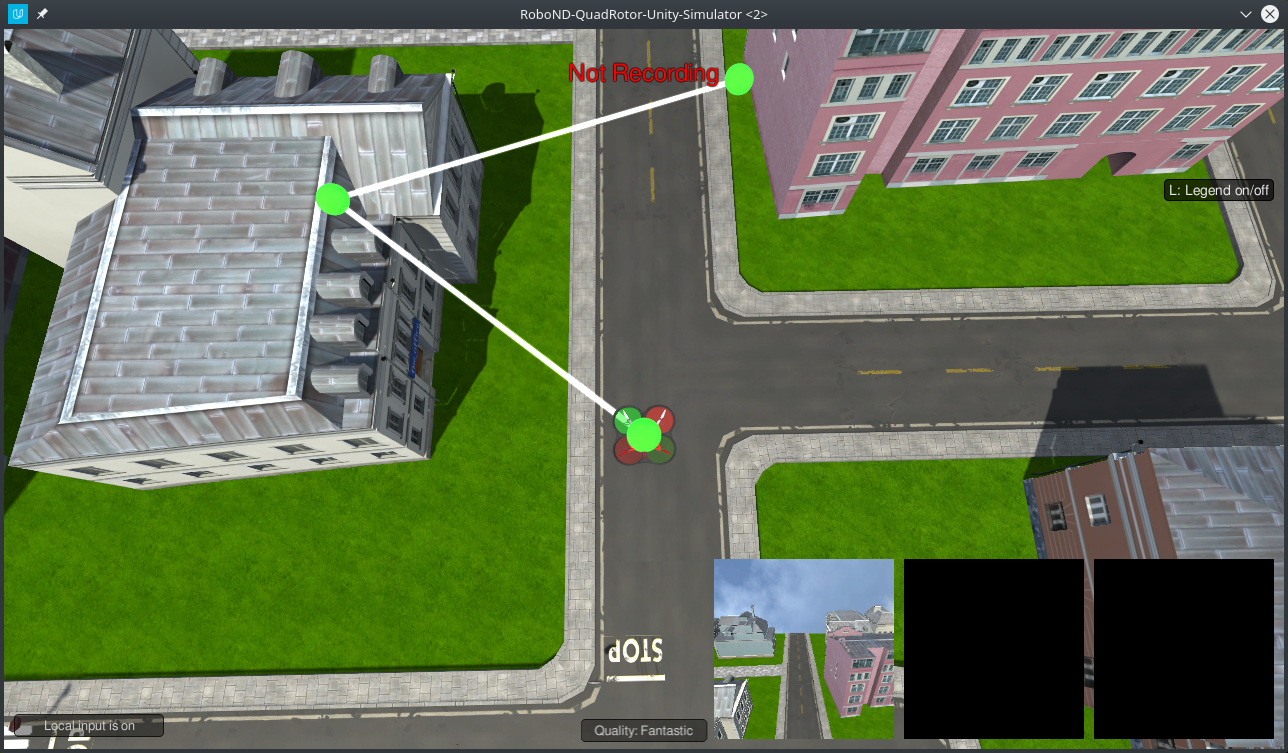
You can now put the quad into patrol mode by pressing H. To switch back to local control press H again.
To remove all the patrol points you have set press L
Setting Hero Path Points
To set a hero path point press O while in local control mode. The hero path points are very similar to the patrol points, except they are always placed at ground level. Decrease the quads altitude by pressing C to get a better look at the points you are setting. Similar to patrol points, all the hero path points can be removed by pressing K. The hero will start at the first point you create and walk around the path. When reaching the end, the hero will despawn before reappearing at the beginning of the path.
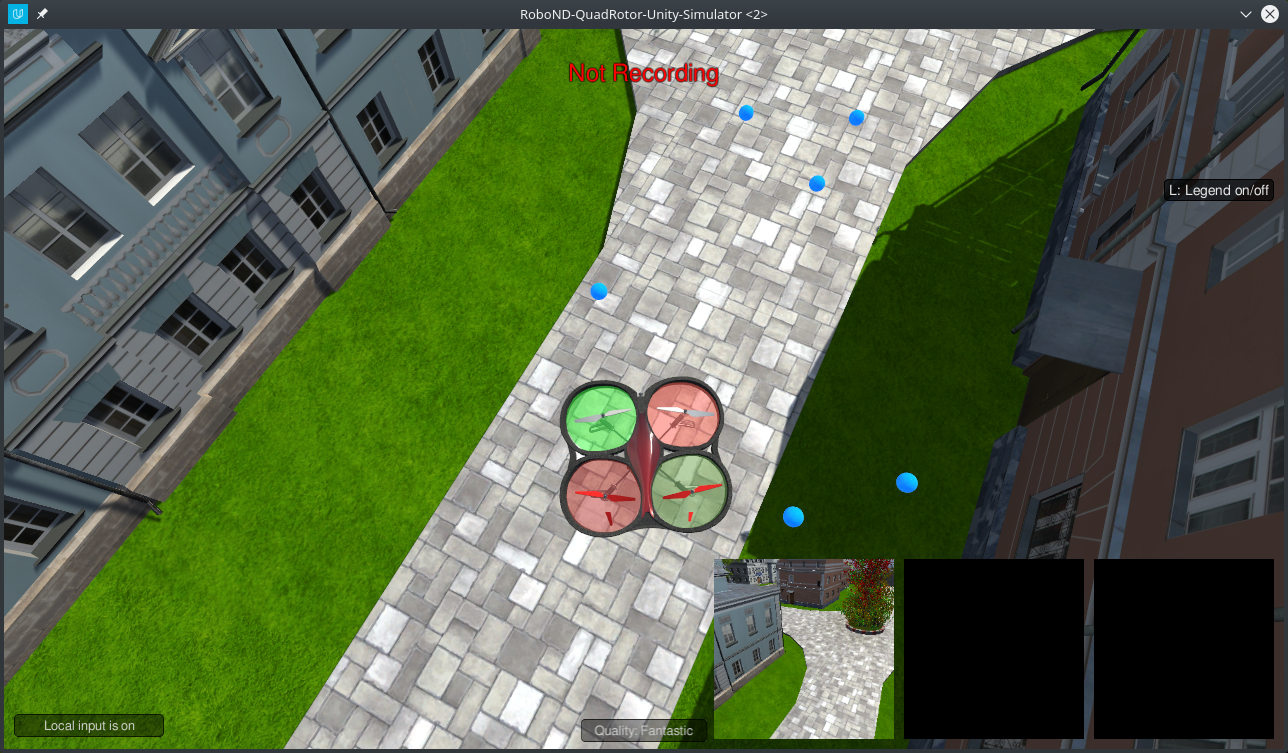
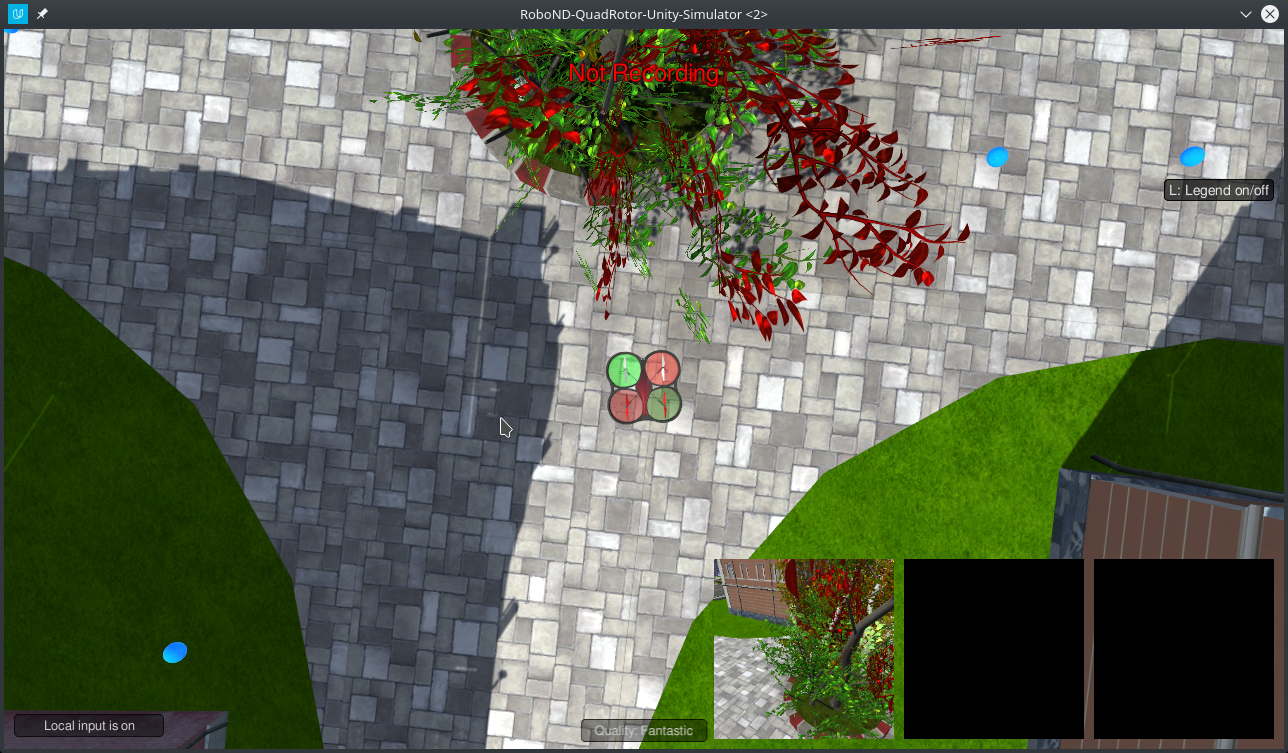
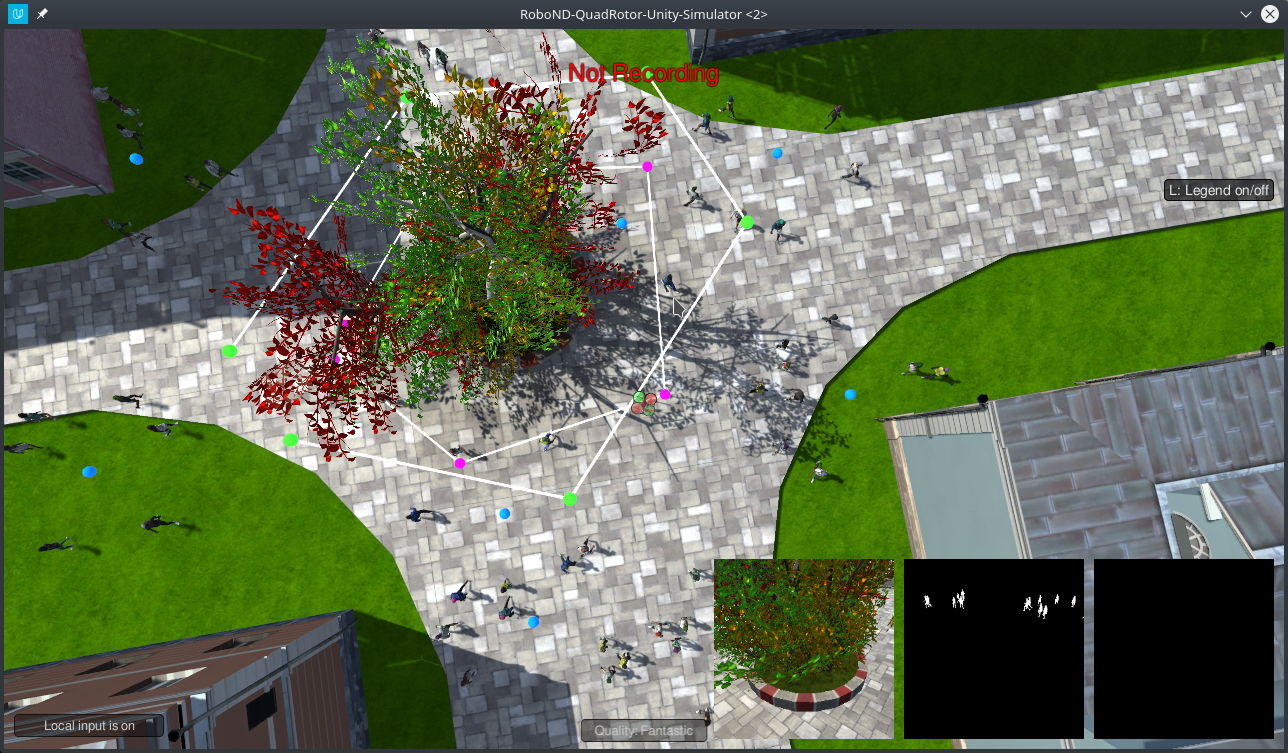
Setting Spawn Points
All the characters in the sim except the hero will respawn after 30-50 seconds at one of the spawn points. You can control the number of people in a given area by the number and location of the spawn points you place. You can set a spawn point at the quads current x,y position by pressing the I key. Blue markers will appear at the spawn locations. You can remove all the spawn points by pressing J
Setting up a Data Collection Run
For setting spawn and hero path points it is helpful to rotate the camera so you are viewing the quad from directly above.
To start let's create a small collection experiment. Often it will be the case that you will want to run multiple collection runs and have each run target a specific type of data. It will also be necessary to have a large sample of data containing the hero. If you create a very large patrol path and hero path it will be unlikely that you will collect many images containing the hero.
Starting the Collection Run
When you are satisfied with how you have placed the the patrol path, hero path, and spawn points, press M to have people start spawning.
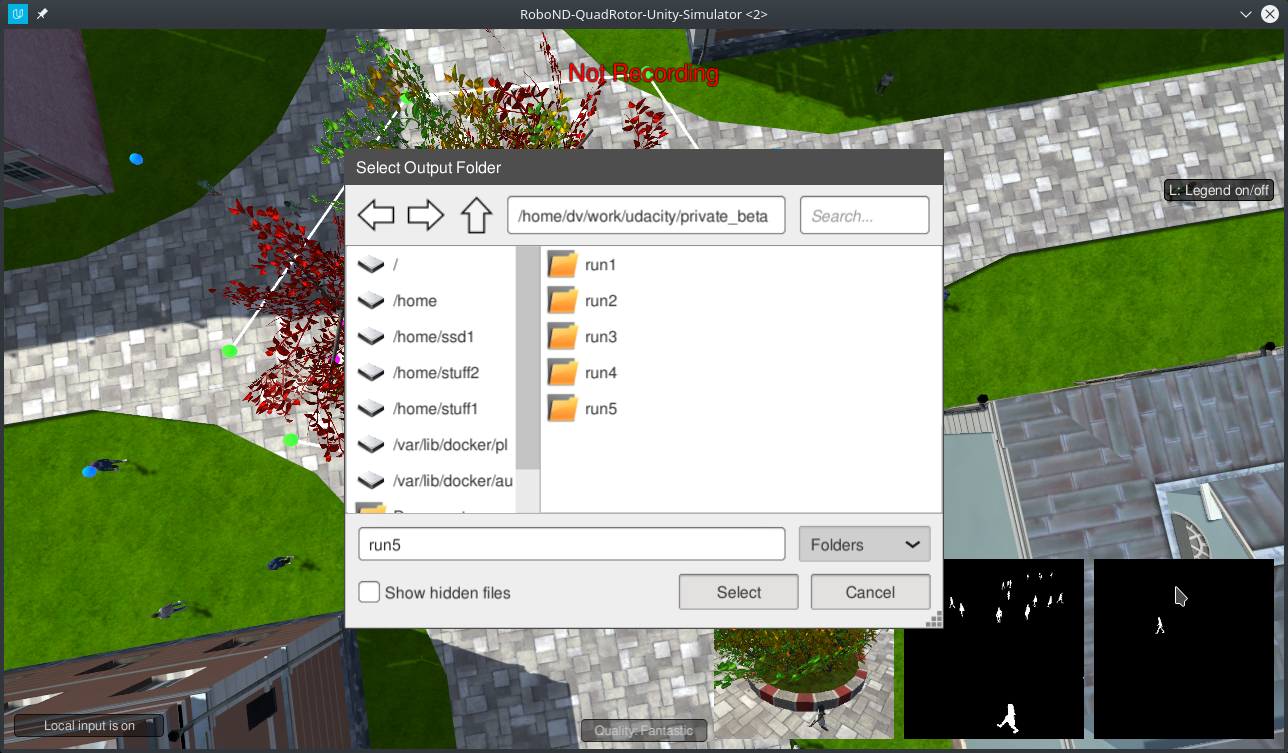
To start recording data press the R key. Navigate to the raw_sim_data/train/target We are using the target directory because we have elected to have the hero appear in this collection run. Alternatively randomly chosen people can take the role of the hero. In this in order to have the data preparation turn out correctly you would select the non_target folder.
Another import note. It is a good idea to restart the sim before trying to set up another data collection run (very much recommended)
Inside the target/non_target folder there can be any number of run folders. Using the same run folder multiple times will result in the data from the first run being deleted and replaced with data from the second run. Press the select button and the indicator at the top of the screen should change to green, which means that data is being collected.
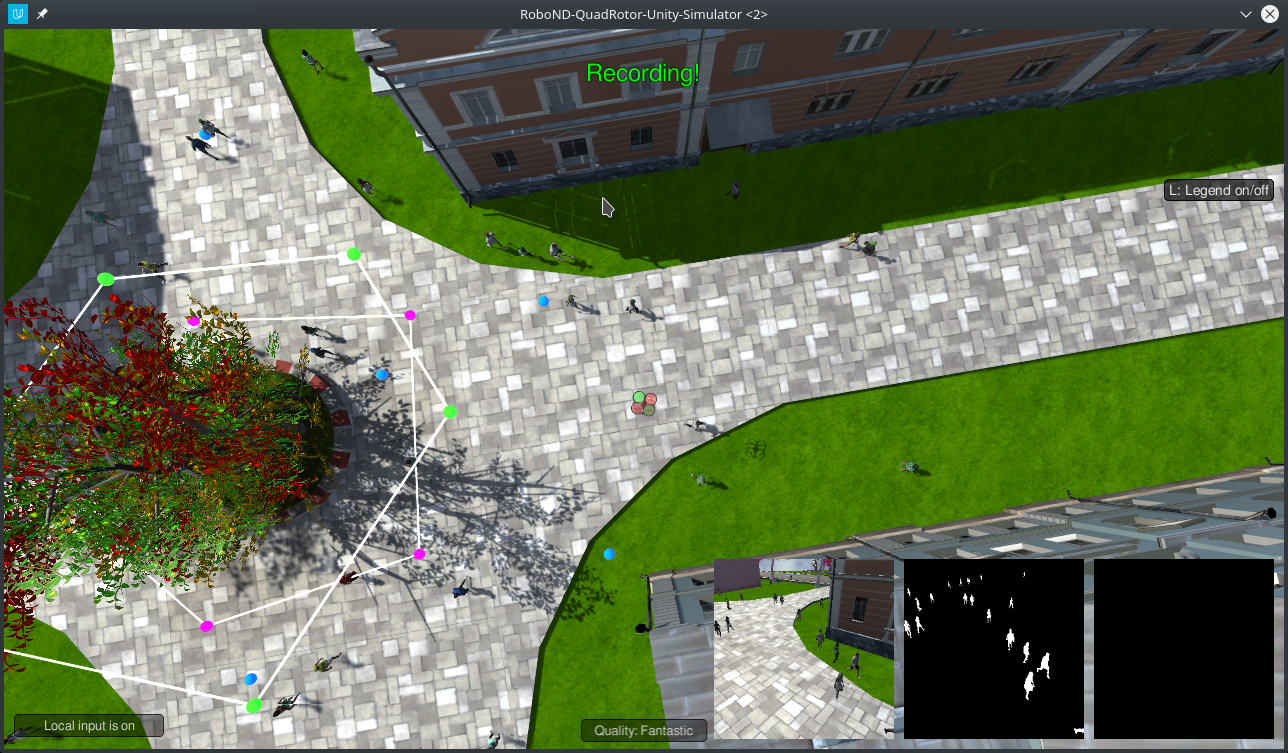
Press H to have the quad enter patrol mode. To speed up the data collection process, press the 9 key. Data from this run will be stored in the folder you selected.
When you are done collecting data, you can press R again to stop recording. While it is not advisable to add/remove the hero path/spawn points while the data collection is running, you can delete the patrol path and modify it if desired.
To reset the sim, press <Esc>
Data Collection Best Practices
Let's take some time to go over best practices when recording data for this project.
Starting with data you should aim to collect:
- Data gathered by following the hero in a very dense crowd.
- Data gathered while in patrol directly over the hero, while they zigzag.
- Data gathered while the quad is on standard patrol.
Collecting data using a data collection run:
The simplest way to collect extra data is to simply DL training and press <M> to start the spawns. Then start recording. Lets take a look at what happens when we do this
and use the data to train a neural network. three thousand images, collected in this manner have been provided for you, and you are welcome to collect more, but you will
quickly find that even adding many many images will not improve your score that much.
Collecting data in follow mode
One third of the grading data is based on the centroid accuracy in while following the target person.
To collect data that will prepare the neural network for these situations, we create two custom data collection runs.
To start run the sim and select DL training mode. Then press 'j', 'k', then 'l' to clear the task waypoints.
Trying to get all angles of hero using patrol:
For this idea we will have two patrol points. then directly under the patrol path, create a
zigzagging path for the hero. I found it helpful to have the patrol path move quite outside of the boundery of the hero path because of the angle of the gimbal camera.
Collecting data from the full path:
While thats saving data, I will also start collecting some data from the full patrol path.
This data will not have the hero in it, but it is important so the network can learn to account for objects that look like the hero.
** Last idea is to concentrate the collection of the hero data in dense crowd: **
To get an idea of how this can look, please take a look at the video below.
Collection Method1